A guide to how I started laying the foundation for soil at Sweet Belly Farm - by layering compost, straw, leaves, hay, and decomposed bark into lasagna beds.
Sometimes there are those stretches of days, or weeks, months, or years - when life gets so busy that I feel like I spend every day playing catch-up to the day or week before. During those times big awesome projects get pushed to the side day after day, clearly not fitting into the few hours of “free” time I manage to come up with occasionally. These projects need whole days of undivided attention – projects like constructing garden beds in the garden area on our property.
September was almost gone and I couldn’t wait any longer to just DO something, at least start making the soil I wanted to grow herbs in during the coming summer season. There wouldn’t be enough time before the snow flies to get it all done, and once winter hits the ground would freeze until March or April. So I decided to hire some friends to help and start making Lasagna beds!
The technique is called Lasagna Gardening – A term coined by Patricia Lanza who first published a book on the subject. I like to think of it more as a technique than a prescription, less of a recipe and more of a cooking process. My version is a very flexible guideline for layering different types of organic ingredients upon one another until you have reached a depth that will break down into an acceptable amount of nutrient and carbon-rich soil.
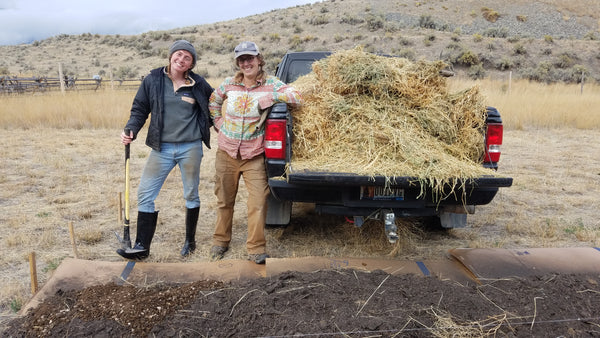
 I knew my own shoveling power was limited – I’d been having some back and shoulder problems and was anxious about hurting myself trying to move all that material needed to make soil by myself. So some awesome friends helped haul material and keep thing fun while we worked. We laid out strings to keep our beds straight, because I know how things wiggle and curve overtime!
Then we started layering – Thick, large cardboard, decomposed bark, hay, leaves, compost, straw, compost, and repeat. It was more efficient to use a truck as a wheelbarrow, and more efficient to have some people loading up the next batch while others spread out piles of material that were dumped. I had a moment of panic when we came to a big sagebrush in the middle of the garden – should I kill it and risk the allelopathic chemicals from its roots hurting my garden plants, or leave it in all its majesty?
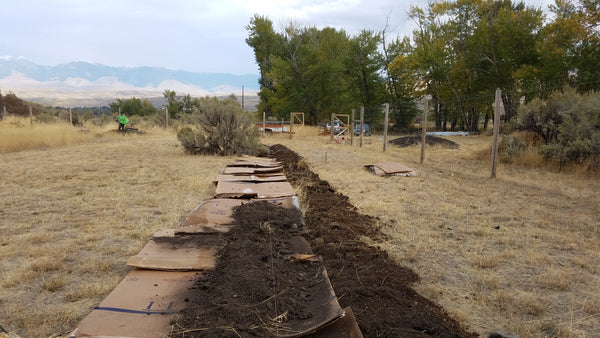
The finished product looked great – kind of like huge rows of feed for cows, or in this case, worms and soil microbes. Winter would do its job and drop snow and moisture into the layers, giving the biota fuel when it warms up to break down all that organic material into soil. I felt great about having started this big job that due to the size of my garden would probably take me many, many more days of work, but I was happy to wait until spring hits to complete the rest of it.
“Lasagna Bed” layering and cooking process:
1) Gather a LOT of ingredients
These ingredients could be composted or chopped leaves, straw, hay, manure, grass clippings, bark mulch, peat moss, animal bedding, compost, wood ashes, sawdust, or topsoil. Really anything that you have available in your local area that contains carbon or nutrients and is not toxic or full of chemicals. The bulk of your ingredients should be mild and carbon-rich, such as straw, hay, or leaf mulch. Lesser ingredients are nutrient-rich, such as compost, grass clippings, or ashes.
(Example: I did not have any grass clippings for my beds because I don’t have a lawn myself, and most of the neighbors that produce grass clippings spray for weeds – I didn’t want to put that on my garden!)
2) Gather a LOT of large pieces of cardboard
Make sure that you remove any metal or plastic parts that come with the cardboard, like tape or staples. The bottom cardboard layer serves as a physical and light barrier to block the growth of grasses and annual weeds from immediately colonizing the nice soil you will make.
3) GO!
The hardest and most time-consuming part of the process is the building of the beds. Shovelful by shovelful, start with a layer of cardboard on the soil or grass you plan to build upon. If you have an actual lawn, it may help to cut the grass very, very short in order to limit its ability to grow through the cardboard. Lay cardboard sheets down so that edges overlap by six inches or so, then start layering ingredients in large swaths, one by one. Try to alternate large layers of drier, more carbon-rich ingredient layers with smaller layers of more nutrient rich ingredients. Top off your lasagna with a nutrient-rich layer like compost.
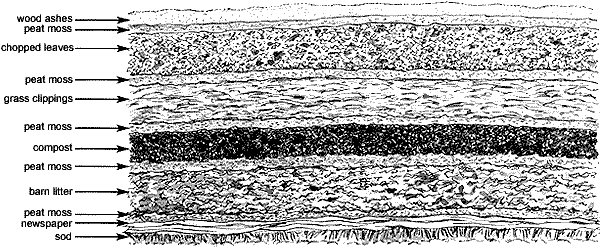
This illustration is one recipe of the layered “lasagna” that forms garden soil, in a fun mother earth news article. Illustration by Elayne Sears. Link to the article: https://www.motherearthnews.com/organic-gardening/lasagna-gardening-zmaz99amztak
4) WAIT!
The key to this process is to allow the layers to break down and decompose. This allows the nutrients time to trickle down through the layers and feed the biota that break down the straw, hay, and leaves into smaller and smaller pieces. Fungal networks will colonize, releasing and cycling nutrients between future plants and the soil you are making. Large air pockets in between pieces of straw are compressed and chopped into smaller air pockets, increasing the water and nutrient-holding capacity of this created soil. This process of decomposition can be sped up by adding heat or moisture to the beds, therefore speeding the biological decomposition. Two ways to do this are by watering frequently and waiting several months, or by covering beds with black plastic and waiting less months for the materials to break down.
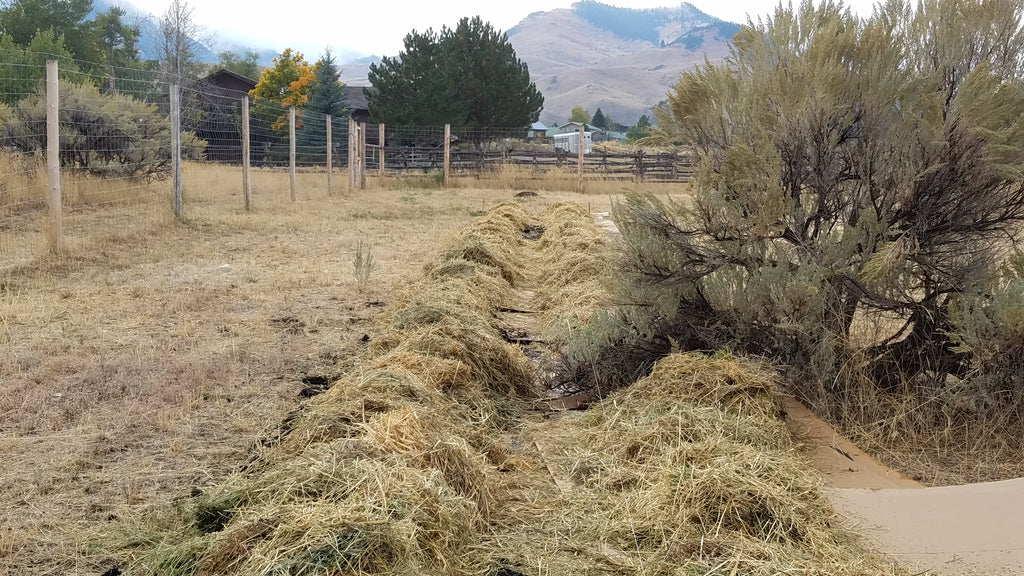 See you again when the snow melts in the spring, pretty lasagna beds!
